Stability Test Chamber Maintenance
Jun 15, 2022
It would be great if you could set a testing schedule and always keep everything going according to plan - but that's not reality. If something looks wrong but the test room is still running, then maybe you can push forward and see it when you're done. Just know that all chamber systems are intertwined. Any rust or corrosion, water leaks, standing water or condensation, or air leaks are signs of a bigger, imminent repair in the future.
It's important to address problems ahead of time as they arise. You can help maintain your test room by doing the following:
Implement regular quarterly and annual maintenance.
Run your test chamber to check performance before testing.
Keep the manual and all information related to your test room nearby.
Doing so will keep your test room up and running and help you catch problems before they become expensive fixes.
Below are some of the more common test room maintenance checks so that you and the service team can resolve any issues that arise.
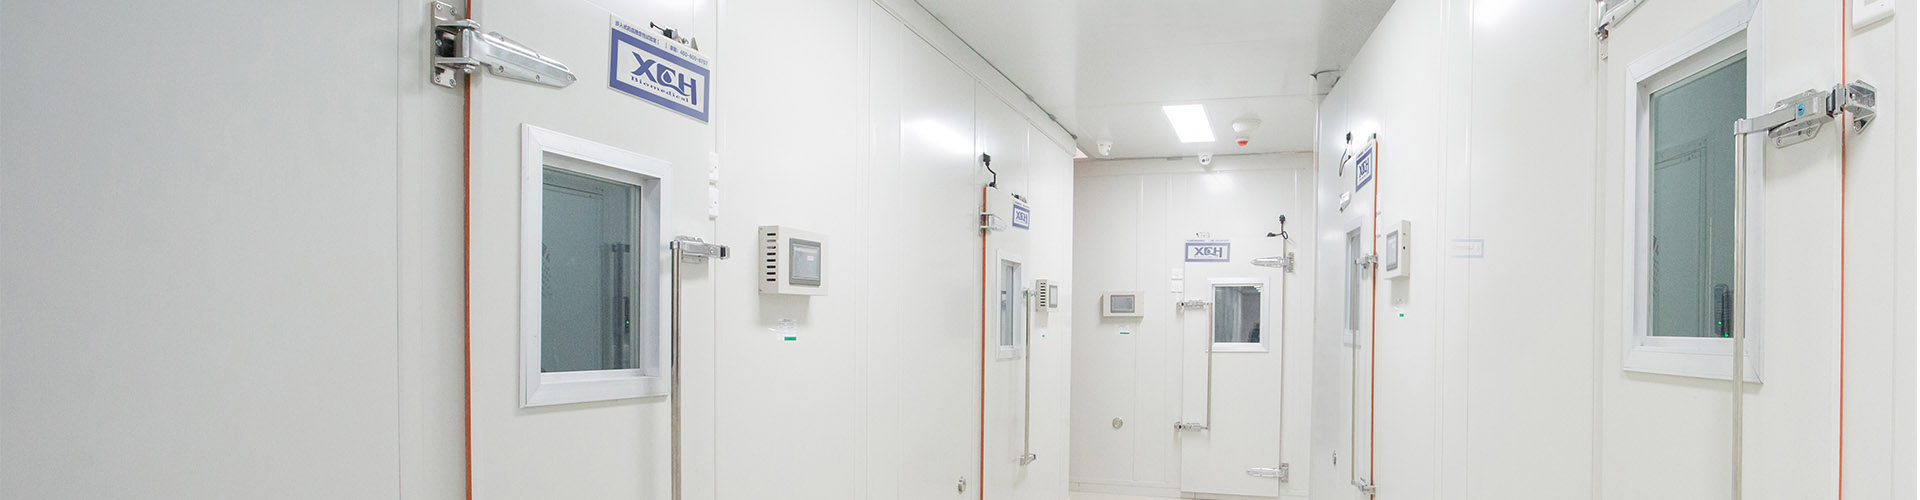
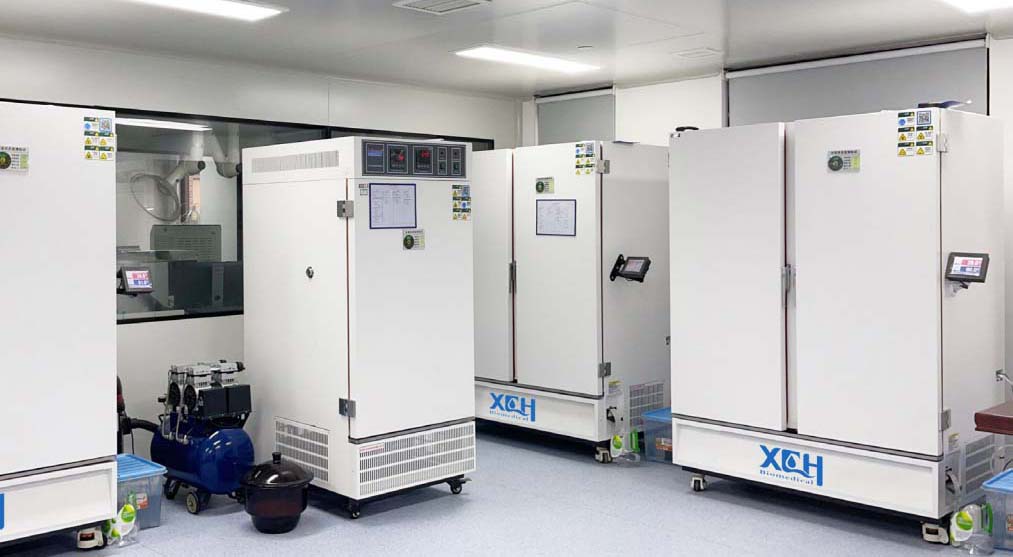
Test Chamber Maintenance
When you fix it early, you'll find that most chamber problems require relatively simple solutions. This is important for two reasons: You can do many maintenance tasks yourself, but it's always important to call your in-house service team, preferably someone familiar with HVAC and refrigeration. You can conduct inspections that provide context to evaluate repair options if necessary.
Maintenance prevents a domino effect, where small problems turn into bigger, broader fixes.
You should perform the following maintenance on a regular basis to keep your test chamber functioning properly. NOTE: Safety is paramount. The test chamber is connected to a live voltage. Any maintenance work on the electrical system should be performed by professionals. Before performing any maintenance, be sure to disconnect power to the chamber after proper lockout and tagout procedures.
Electrical System: Check your electrical system for pitting and loose connections at relays, contacts, wiring harnesses, solenoids, sensor clips and compressor connections. Check that ground and phase are correct. Check all connections and terminals for electrical readings with a multimeter. View high voltage and control voltages and get necessary current readings. Test all control switches and lights for proper operation.
Refrigeration system: Check oil level, look for leaks and build-up. Check various fan operations, cover ducts, duct supports and duct insulation. There should be no frost anywhere, the air handler should be sealed against leaks, and the shock absorbers should be checked. Clean the coil and straighten any bent fins. Check static and working pressures and discharges, as well as suction and liquid line temperatures. Since PSI information is specific to your chamber, measure the correct filter drier psi for limits. Test expansion tank operation, net oil pressure and high/low pressure safety checks.
Humidity System: If you have a humidity chamber, check floats, water pipes and connections, and optional air dryer. Drain, clean and flush water pipes, steam generator and optional water tank. Check steam generator heater for pitting and verify water quality and pressure. Check dry air cleaning operation and filters.
Circulation system: Check the pump and connecting lines for leaks. The drain tank should have only a small amount to remove sediment. Clean the pump and thoroughly clean the tank.
Finally, check the overall structure of the test room: exterior, workspace and floor for punctures, tears and dents. Check all gaskets for degradation: doors, windows, ports, wiring and plugs.
If you have a walk-in with panels, check the seal at each seam. Check the integrity of the panel lock or latch. Verify that door operation produces a smooth seal by inspecting latches and latches and hinges. Clean drain and condensate pumps. Clean and adjust airflow regulators, and vacuum or sweep electrical and mechanical machine areas to remove all dust and debris. Replace any missing or damaged safety labels and tags. Return the test box to the correct position, leaving 18 to 36 inches of space for optimal airflow for optimal box performance.
By regularly checking your test room system, your tests will run painlessly. And the performance will always meet your expectations.
Importance of Calibration
In addition to the "physical" system, you should also examine the digital aspects of your room. Have an expert calibrate your chamber controller every six months or so. Regular calibration prevents "drift" that can lead to inaccurate test results. You'll avoid bad data and downtime to maintain your test plan.
Remember that well-maintained Stability Test Chamber are often more durable than the controllers that enable you to operate them. The controller may require software updates and bug fixes.
Don't wait to call the test room service
If your test chamber is not functioning as expected, please contact your service team Stability Chamber Manufacturer Thchamber. While technicians can fix common problems in a short period of time, more complex performance issues may require in-depth solutions and may require chamber replacement.
Stay ahead of the curve by performing regular maintenance, running your test box to the top and bottom of performance standards after testing or on a weekly basis (even when not in use), and staying in close contact with your service team.
The more diligent you are, the more likely your Stability Chamber will remain in operation for years on end.
 English
 Français
 Deutsch
 Русский
 Español
 Português
 عربي
عربي 日语
日语 한국인
한국인 Melayu
 Tiếng Việt
 Indonesia
 বাংলা
বাংলা 中文
中文


 IPv6 network supported